Happy Friday readers! I hope you have all had a fantastic week.
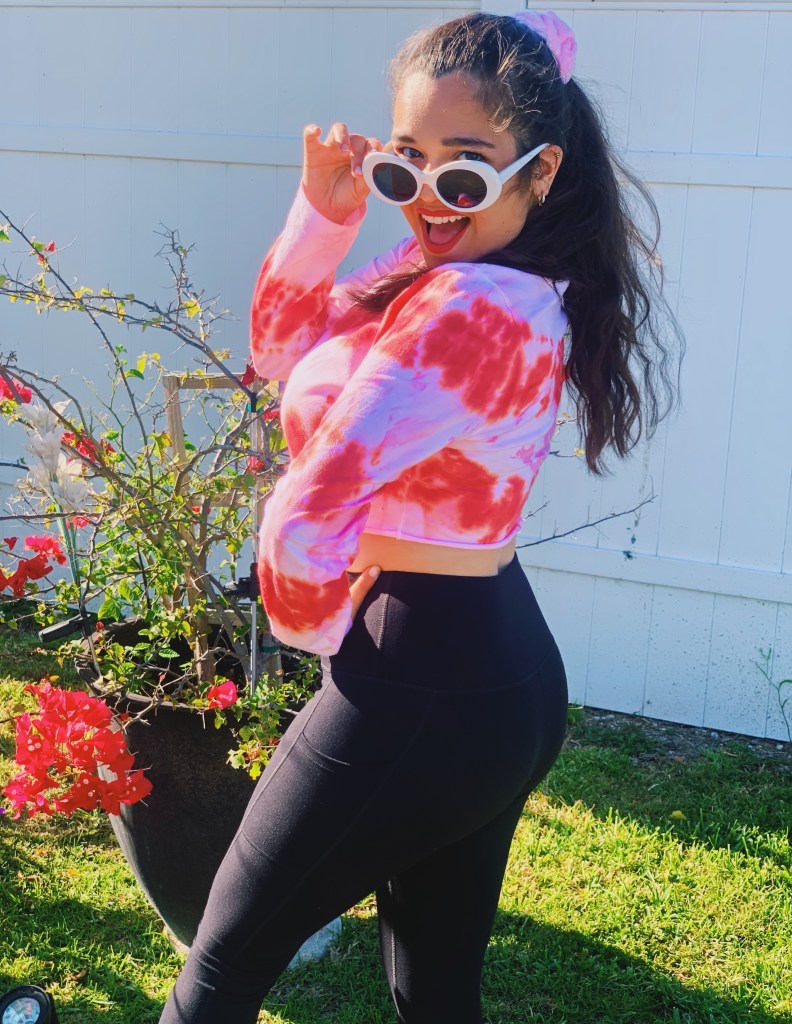
The other day, I randomly decided I wanted to tie-dye a shirt. I have never actually tie-dyed anything so I thought this was the perfect time to try it and it all costs less than $15!
All you need is:
Tulip One-Step Dye Kit Red (or whatever color you would like) https://www.amazon.com/dp/B0018N81AY?ref=ppx_pop_mob_ap_share
White, long-sleeve shirt https://www.amazon.com/dp/B01I21IA7S?ref=ppx_pop_mob_ap_share
Scissors
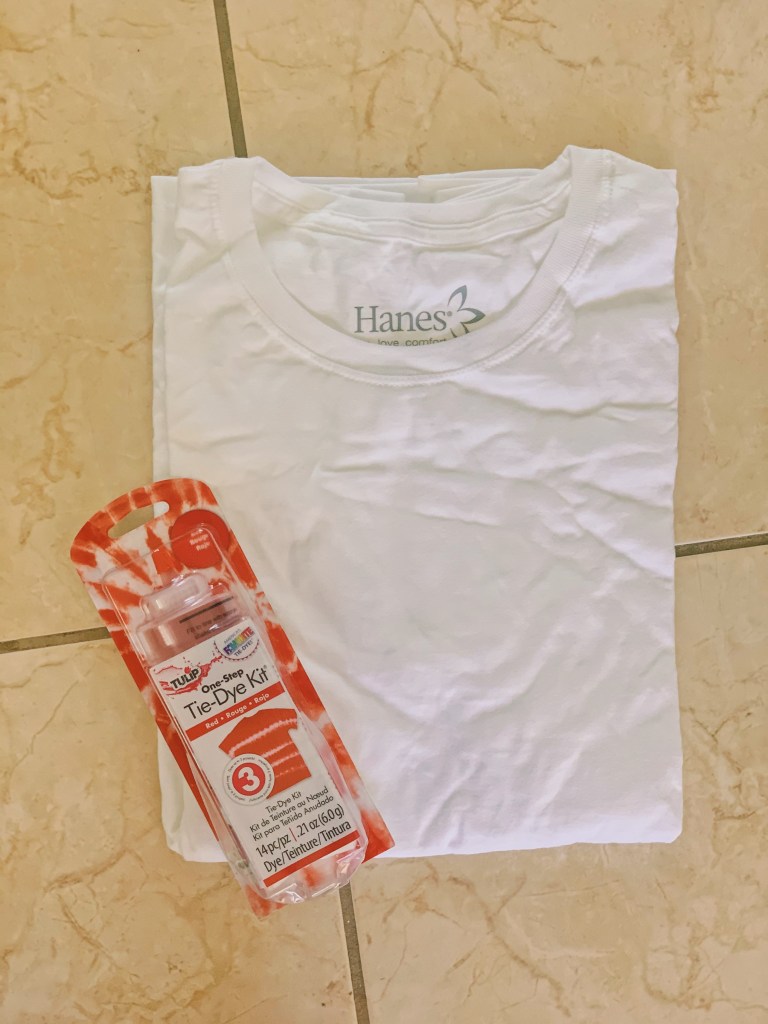
I purchased the shirt and tie-dye kit from Amazon. The shirt was $7 and the kit was $5.87. The kit came with the color powder in a bottle, gloves, rubber bands, instructions, and creative suggestions. I was happy all of the necessities came in the kit so I wouldn’t have to go out my way to purchase them. This also made the entire tie-dye process a whole lot simpler.
First things first, you have to put on clothes that you wouldn’t mind getting paint on. Tie-dye is permanent and you don’t want to ruin your favorite shirt.
After you have the shirt you wish to tie-dye, tie the rubber bands around the areas of the shirt you want the colors appear on. The type of pattern will depend entirely on those rubber bands. Once you have your shirt tied, get your gloves on, grab your bottle of paint and begin squeezing onto the sections of the shirt you want dyed. Have some fun, don’t be afraid to get a little crazy with the colors.
Once you have finished squirting the colors onto the shirt, wrap the shirt in a plastic bag or plastic wrap, either works. You have to then let it sit for six-eight hours.
Once the time has passed, uncover and untie the shirt. The colors should be set by this point.
Lastly, hand wash the shirt with cold water, then toss it in the dyer.
There you have it! Tie-dying is easy and fun. Try it at home! Tie-dye a shirt, shorts, pants, leggings, even a blanket! The possibilities are endless.